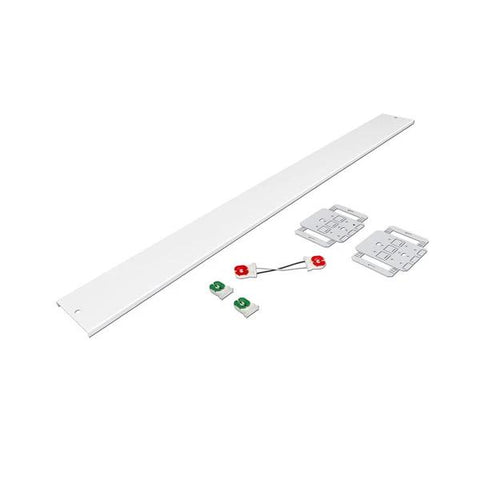
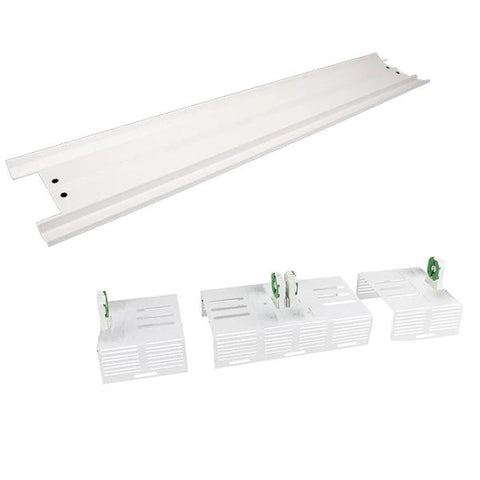
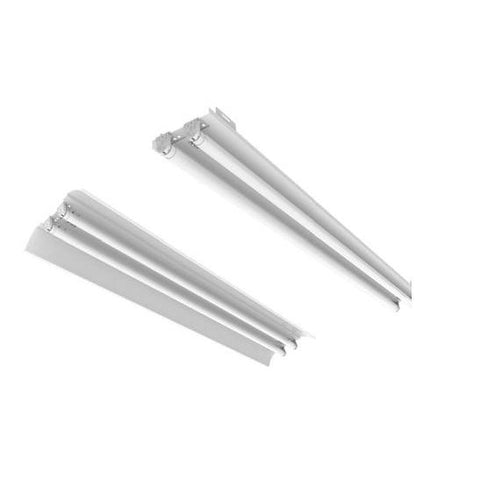
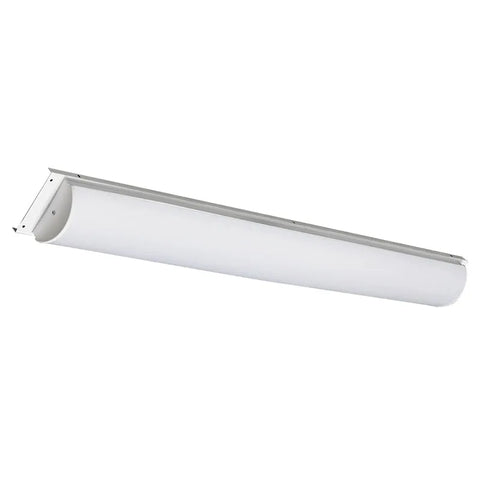
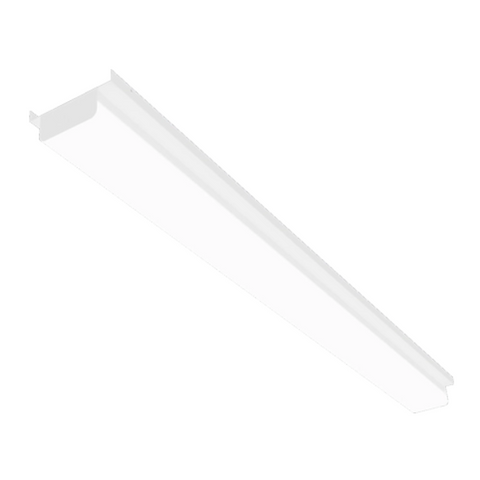
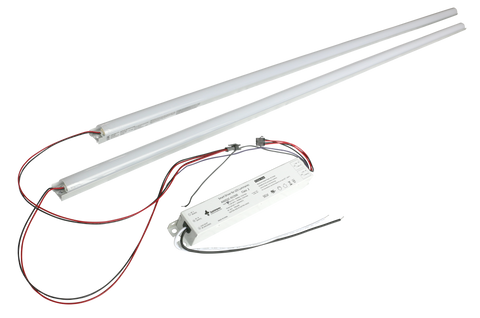
If you are looking to switch to the impressive power and energy-saving efficiency of LED lighting solutions, you don’t need to buy all new fixtures. In fact, converting a 4 foot t8 or t12 retro to LED can easily be achieved with one of our retrofit kits. Get the improved lumen output with lower watt consumption your space deserves with our guide to converting 4 foot t8 or t12 retro to LED solutions.
- The first step is to choose your conversion kit. There are a few kits available and the one you choose will depend on your fixture needs. You can choose between a CS bracket kit or an RSX 8 kit if you are working with an 8-foot fixture. Make sure your kit comes with everything you need to convert to LED such as quarter turn screws and tombstones. You will want unshunted tombstones if you intend to jumper from one lamp to the next
- Once you have chosen the right kit for you, the next step is to disconnect the power. You never want to work on any fixture that has electricity running through it, no matter how skilled you are at rigging lighting solutions.
- When you are sure the power is off, you can go ahead and get started by disassembling the fixture. Remove your ballast cover to expose the ballast and wires. Most ballast covers are held in place with either one or two screws so use a screwdriver and remove the ballast cover screws.
- Next, you will remove your tombstone ends. After that, you will have your wires exposed. You should have a power lead, the ground wire, and the negative.
- From there, you will install your unshunted tombstones designed for LED use or program start ballasts. They should just snap right in place.
- Connect the dead end without power to the end of the fixture. If you are doing a 4-foot fixture, there won’t be any wires to run down. If you are doing an 8-foot fixture, you can use a jumper to reach from one side to the other side.
- Next, take your quarter turn screws and attach them to the end without power. Run them into the fixture. If you are going to use the ballast cover, you may need to tech screw it down since it may not line up now that you have converted the fixture. Also, you can choose to operate without the ballast cover since you don’t really need it with LED conversion.
- Repeat this for the powered end.
- Once you have attached your tombstones to both ends, you will use your jumpers to run it from the regular power line. Use wire nuts to attach as needed. Repeat this for the negative side.
- Attach the ground wire directly to the fixture.
- Take the negative and positive wires and run them to one side.
- Use your other two jumpers to power up the other tombstones in the same fashion.
- Tighten screws on both sides.
- Attach the ballast cover or reflector, depending on the option you have chosen.
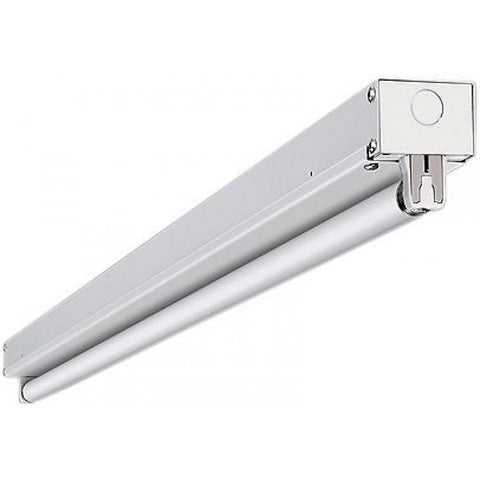
Warelight 8 Foot T8 and T5 Strip Light Retrofit Kit Assembly
When you choose lighting solutions, you choose them for their efficiency and illumination ability. When a newer option that gives you better results is available, it make sense to switch t...
Read Article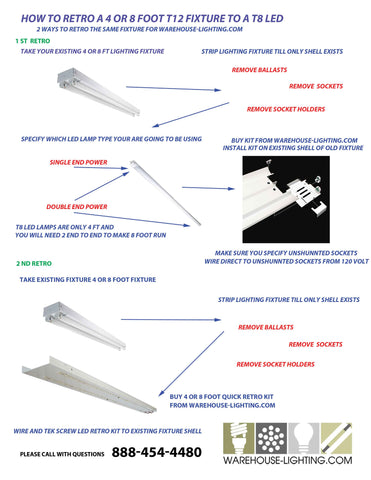
Convert t12 4 and 8 foot fixtures to LED lamps or retro kits
Info graphic showing how to convert T12 and T8 lighting fixtures to LED's. Learn How to retro fit your old lighting fixtures.
Read Article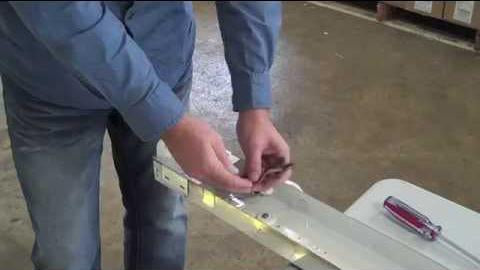
Retro a Fluorescent Strip Fixture to LED
When it comes to saving energy and money with your lighting solutions, LED technology is the way to go. If you already have fixtures in place that you are looking to convert for energy-savings, ...
Watch Video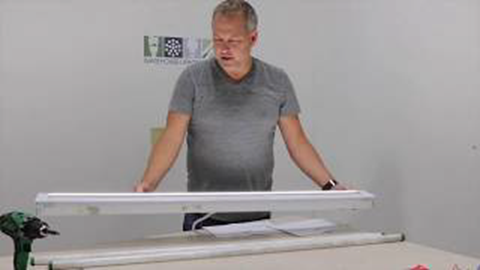
How to Retrofit Strip Lights with LED Magnetic Strip Retrofit kits
Watch our How to Retrofit Strip Lights with LED Magnetic Strip Retrofit kitsvideo. Our videos will educate you so that you can confidently purchase and install LED light fixtures, whether they are ...
Watch Video High Bay LED Lighting
 Industrial Low Bay Lighting
 Industrial Strip Lights
 Vapor Tight Lighting
 LED Shop Lights
 Hazardous Area / Explosion Proof Lighting
 Loading Dock Lights
 Construction / Portable Lighting
 High Temperature LED Lights
 Industrial Ceiling Fans
 LED Work Lights
 Networked Controlled Lighting
 NEW Warehouse Lighting Fixtures
 American Made Industrial Lighting
 Clearance
 Troffer Lights
 LED Flat Panel Lights
 Drop Ceiling Lights
 Suspended LED Lights
 LED Cylinder Lights
 Exit / Emergency
 Wrap Lighting Fixtures
 Gooseneck and Barn Lights
 Stairway & Corridor Lighting
 Hospital Bed Lights
 Recessed Lighting
 Wafer Lighting
 RGB LED Lights
 Grow Lights
 Refrigeration Lighting
 Commercial Sign Lights
 LED Track Lighting Fixtures & Systems
 UV Disinfecting Lights & Air Purifier Fixtures
 American Made Commercial Lighting
 LED Flood Lights
 Outdoor Wall Lights
 LED Area Lights
 Parking Lot Lights & Poles
 Outdoor Post Top Lights
 LED Stadium Lighting
 Canopy Lights
 Security & Motion Sensor Lights
 LED Bollard Lights
 Outdoor LED Linear Light Fixtures
 Solar Powered LED Lighting
 Dusk to Dawn Lights
 Landscape Lighting
 Outdoor String Lights
 Coastal Wildlife Lighting
 Outdoor House Lights
 American Made Outdoor Lighting
 Architectural Linear Lights
 Architectural Grid Mount Lights
 Architectural Round Pendant Lights
 Architectural Square Linear Lights
 Architectural X-Shaped Linear Lights
 Architectural LED Wall Packs
 Ceiling Fans
 Ceiling Lights
 Chandelier Lights
 Pendant Lighting
 Island Lights
 Under Cabinet Lighting
 Vanity Lights
 Wall Sconces
 LED Tape Lights
 LED Mirrors
 LED Light Bulbs
 LED Tube Lights
 LED Corn Lights
 Vintage LED Bulbs
 Decorative LED Bulbs
 Fluorescent Light Bulbs
 Metal Halide Lamps
 LED Magnetic Strip Retrofit Kits
 LED Strip Light Retrofit Kits
 High Bay LED Retrofit Kits
 LED Troffer Retrofit Kits
 LED Wall Pack Retrofit
 LED Street Light Retrofit Kits
 Recessed Lighting LED Retrofit Kits
 Ballasts & Drivers
 Emergency Ballast For LED & Fluorescent Lights
 Electrical Supplies & Mounting Kits
 Electrical Tools
 Switches & Receptacles
 Electrical Power Cords
 Sensors and Timers
 Smart Home Automation
 High Bay Occupancy Sensors
 Electric Vehicle Chargers
 Hand Dryers
 LED Shop Lights
 Garage LED Light Fixtures
 Office Lights
 Classroom Lights
 Church Lights
 Gym Lighting
 Factory Lights
 Hospital Lights
 Walkway Lights
 Parking Lot Lights
 Exterior Building Lights
 Sports Lighting
 Airport Lights
 NSF Rated Lights
 TAA LED Lighting
 Restaurant Lights
 Corridor Lights
 Barn Lighting


