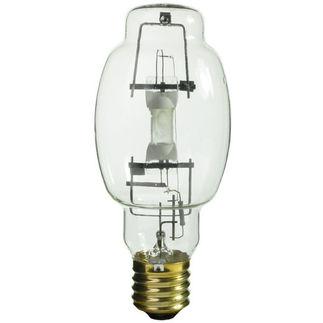
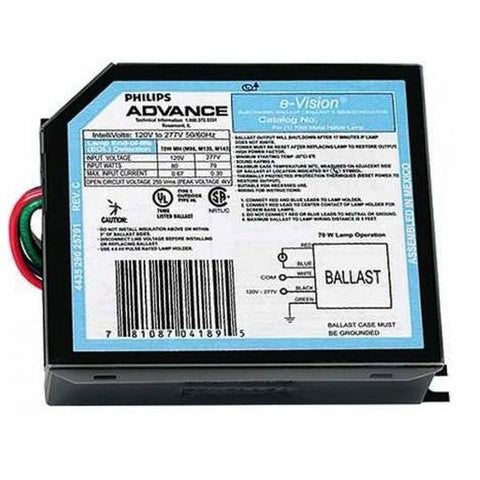
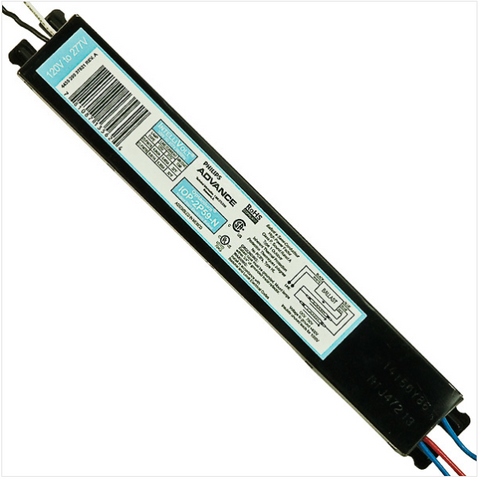
When it comes to lighting solutions, you might think wiring is beyond your compatibility. However, wiring is actually pretty simple and anyone can do it. Here are some steps on how to wire HIDs in particular. Before we get started on how to wire HIDs, let’s talk safety. It is important to make sure the power is disconnected before you start working on any type of fixture wiring. Electric shock can kill you, send you to the hospital, or at the very least, be incredibly painful. Make sure the power is disconnected before getting started
- Once the power is off, you can get started on wiring your HIDs. You need to locate your wires to get started. They might be in an attached junction box or elsewhere on the fixture, depending on your model type.
- Locate the ground wire, the common wire, and the power lead wires. These wires will all be different colors, depending on your model, but there will be printed writing on the power lead wire which will tell you the voltage. You will also have the word common marked on your common wire to help you tell the difference.
- Make sure your service matches the power lead wire specifications. For example, if you have a power lead of 277 hooked up to a 120, the fixture will not be able to turn on so make sure your service matches the number printed on the power lead wire. Most fixtures will come with multiple power lead wires so you need to choose the one that is right for your fixture and service.
- Once you have determined your wires and can tell the difference between them, you can start capping off any remaining wires you won’t be using for this process. Tuck them back into your junction box. This will make it easier to make sure you are using the right wires.
- Once you have the right wires in place, you simply connect them to the corresponding wires from the ceiling.
- Screw or mount the fixture into place.
- Make sure you use the appropriate bulbs for the fixture. You never want to use bulbs that aren’t right for the manufacturer’s specified recommendation because you run the risk of either burning up the internal components of the fixture or getting less efficiency from the unit.
Comparing HID vs. LED High Bay Lighting
There have been many advancements in lighting technology over the years and each type has its own advantages and disadvantages over the other. Modern LED lighting, however, tends to outperform t...
Read Article
HID Flood Lights vs. LED Flood Lights: Which is the Better Outdoor Lighting Solution?
In recent years, LED lighting has been found to be superior to HID lighting in every way. The same applies to parking lot and area lighting. Here is how it breaks down.
Read Article
LED vs HID: The Best Option for Outdoor Parking Area Lighting
In recent years, LED lighting has been found to be superior to HID lighting in every way. The same applies to parking lot and area lighting. Here is how it breaks down.
Read Article
High Bay Sensor Wiring
When it comes to lighting, many people might think wiring a fixture is too involved for their level of experience. Just because you have never wired a fixture before, doesn’t mean you should be ...
Watch Video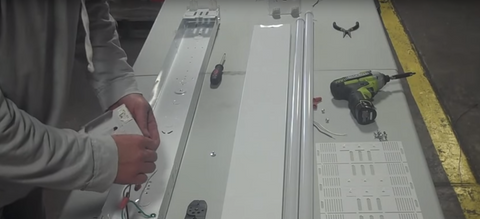
4 Foot T8 Or T12 Retro To LED
If you are looking to switch to the impressive power and energy-saving efficiency of LED lighting solutions, you don’t need to buy all new fixtures. In fact, converting a 4 foot t8 or t12 ...
Watch Video High Bay LED Lighting
 Industrial Low Bay Lighting
 Industrial Strip Lights
 Vapor Tight Lighting
 LED Shop Lights
 Hazardous Area / Explosion Proof Lighting
 Loading Dock Lights
 Construction / Portable Lighting
 High Temperature LED Lights
 Industrial Ceiling Fans
 LED Work Lights
 Networked Controlled Lighting
 NEW Warehouse Lighting Fixtures
 American Made Industrial Lighting
 Clearance
 Troffer Lights
 LED Flat Panel Lights
 Drop Ceiling Lights
 Suspended LED Lights
 LED Cylinder Lights
 Exit / Emergency
 Wrap Lighting Fixtures
 Gooseneck and Barn Lights
 Stairway & Corridor Lighting
 Hospital Bed Lights
 Recessed Lighting
 Wafer Lighting
 RGB LED Lights
 Grow Lights
 Refrigeration Lighting
 Commercial Sign Lights
 LED Track Lighting Fixtures & Systems
 UV Disinfecting Lights & Air Purifier Fixtures
 American Made Commercial Lighting
 LED Flood Lights
 Outdoor Wall Lights
 LED Area Lights
 Parking Lot Lights & Poles
 Outdoor Post Top Lights
 LED Stadium Lighting
 Canopy Lights
 Security & Motion Sensor Lights
 LED Bollard Lights
 Outdoor LED Linear Light Fixtures
 Solar Powered LED Lighting
 Dusk to Dawn Lights
 Landscape Lighting
 Outdoor String Lights
 Coastal Wildlife Lighting
 Outdoor House Lights
 American Made Outdoor Lighting
 Architectural Linear Lights
 Architectural Grid Mount Lights
 Architectural Round Pendant Lights
 Architectural Square Linear Lights
 Architectural X-Shaped Linear Lights
 Architectural LED Wall Packs
 Ceiling Fans
 Ceiling Lights
 Chandelier Lights
 Pendant Lighting
 Island Lights
 Under Cabinet Lighting
 Vanity Lights
 Wall Sconces
 LED Tape Lights
 LED Mirrors
 LED Light Bulbs
 LED Tube Lights
 LED Corn Lights
 Vintage LED Bulbs
 Decorative LED Bulbs
 Fluorescent Light Bulbs
 Metal Halide Lamps
 LED Magnetic Strip Retrofit Kits
 LED Strip Light Retrofit Kits
 High Bay LED Retrofit Kits
 LED Troffer Retrofit Kits
 LED Wall Pack Retrofit
 LED Street Light Retrofit Kits
 Recessed Lighting LED Retrofit Kits
 Ballasts & Drivers
 Emergency Ballast For LED & Fluorescent Lights
 Electrical Supplies & Mounting Kits
 Electrical Tools
 Switches & Receptacles
 Electrical Power Cords
 Sensors and Timers
 Smart Home Automation
 High Bay Occupancy Sensors
 Electric Vehicle Chargers
 Hand Dryers
 LED Shop Lights
 Garage LED Light Fixtures
 Office Lights
 Classroom Lights
 Church Lights
 Gym Lighting
 Factory Lights
 Hospital Lights
 Walkway Lights
 Parking Lot Lights
 Exterior Building Lights
 Sports Lighting
 Airport Lights
 NSF Rated Lights
 Restaurant Lights
 Corridor Lights
 Barn Lighting


